BEFORE AND AFTER


My son’s closet is pretty basic 1990s design. A pole with a shelf above it. We decided to make this a father & son project and I am pleased to say it did not take very long to do.
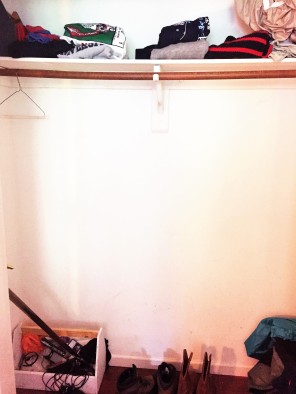
We removed everything from the closet and this is what it looked like. Torn drywall paper and one proud teenager
.
Next step was to fix the drywall and paint. They did the dis-assembly and the drywall repair in less than three hours on the first day, sanded and painted the next, and then on the third day assembled the closet system.
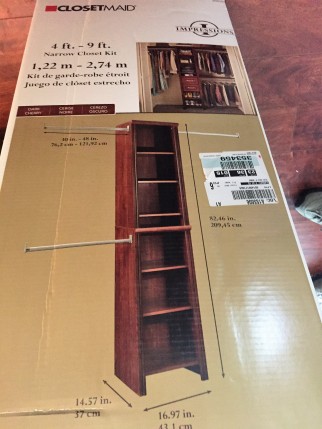
Below is the system they purchased. It is adjustable as the three poles will expand quite a bit. Just build the shelf part and decide how you want the poles configured.
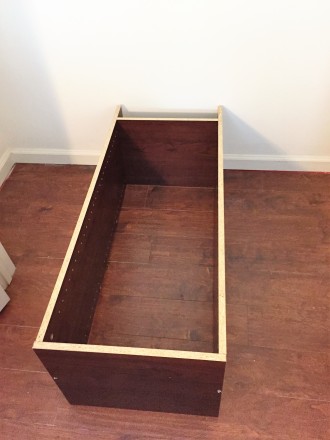
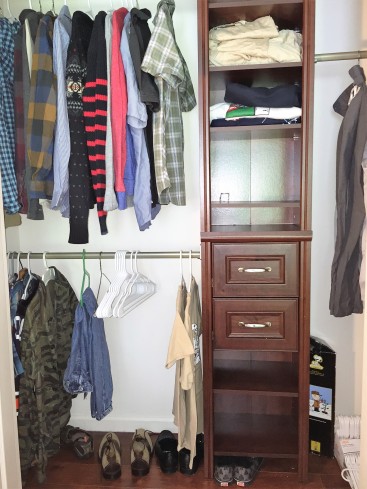
Using a screwdriver and a bit of wood glue it was quickly assembled. After letting the glue dry and installing the back to it, this is what it looked like. The back is a good bit cheaper looking (and costing) than the system we used in the master bedroom closet, but it is fine for a teen room. We didn’t go cheaper on purpose, Home Depot was just not carrying our favorite brand anymore. But it doesn’t bother us too much for this project as we know it will soon be stuffed to overflowing and the back will not be seen again for several years. It actually looks much better in person.
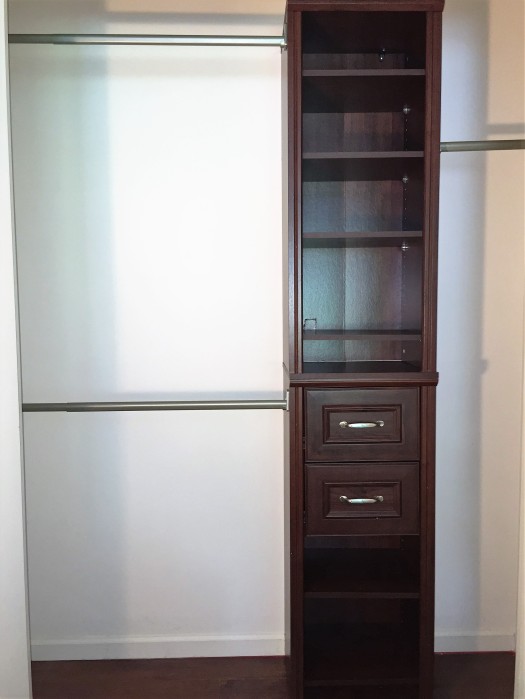
And there it is (below) at about half full. I did not do any of the arranging of this or fancy it up, I snapped a quick pick as my son was filling it so you could get the idea of it. The top shelf is his spare sheets, so he can stop rummaging my hall linen closet when it is time for fresh sheets.
The goal was accomplished: MORE hanging space and for little money and effort it looks much better.